Best Webcam for Teaching Kids Online: 1080p Picks to 4K
If you’ve ever held up a flashcard and heard, “Wait, can you show that again?” you already know the problem. Or, if your power cuts and you’re plunged into darkness and the camera can’t accommodate the new lighting situation. Teaching kids online asks a lot from one small camera, so the best webcam for online teachers is one that keeps you looking clear and present from the start of class to the last goodnight.
Finding the best webcams for online teaching is rarely about picking the flashiest model; it is about finding a reliable tool for remote learning. You need clear video, a simple setup, decent sound, good lighting, basic privacy protection, and a price that feels reasonable.
A better camera can make you look more present, more readable, and more connected to your students. With younger kids, that high image quality is vital because those little visual cues matter a lot when you are trying to keep them engaged.
Key Takeaways
- Prioritize 1080p resolution: For most online teachers, 1080p is the sweet spot that provides clear, professional-looking video without the unnecessary expense of 4K.
- Focus on reliable performance: Features like fast, accurate autofocus and steady auto-light correction are more important for keeping kids engaged than high-end specs or AI filters.
- Don’t ignore the environment: A mid-range camera with excellent lighting and proper eye-level placement will almost always outperform a premium camera used in a dark or poorly set-up room.
- Consider dedicated audio: Because children need to hear clear instructions, using an external microphone or a quality headset is often necessary to avoid the echo and background noise common with built-in laptop microphones.
What online teachers need in a webcam for kids
Teaching children is a unique challenge that differs significantly from a standard work call. During online classes, students engage with your facial expressions, hand gestures, and the various props you use to keep them focused. If your image is grainy or the lens struggles to find focus, you will quickly lose your students’ attention. A standard laptop webcam often fails to provide the clarity and stability required to keep young learners engaged.
For most teachers, 1080p video is the sweet spot. This resolution looks noticeably cleaner than standard 720p, which is essential when you are displaying worksheets, puppets, or close-ups of your mouth for phonics and pronunciation practice. Children do not need cinema-grade quality, but they do need to see what you are doing without squinting at a blurry screen.
Natural color also plays a vital role. Proper white balance ensures that your skin-tone accuracy remains consistent, preventing your skin from looking gray or your red flashcards from appearing orange. While 30 frames per second is sufficient for most lessons, high-quality color rendering makes the video feel more lifelike and engaging.
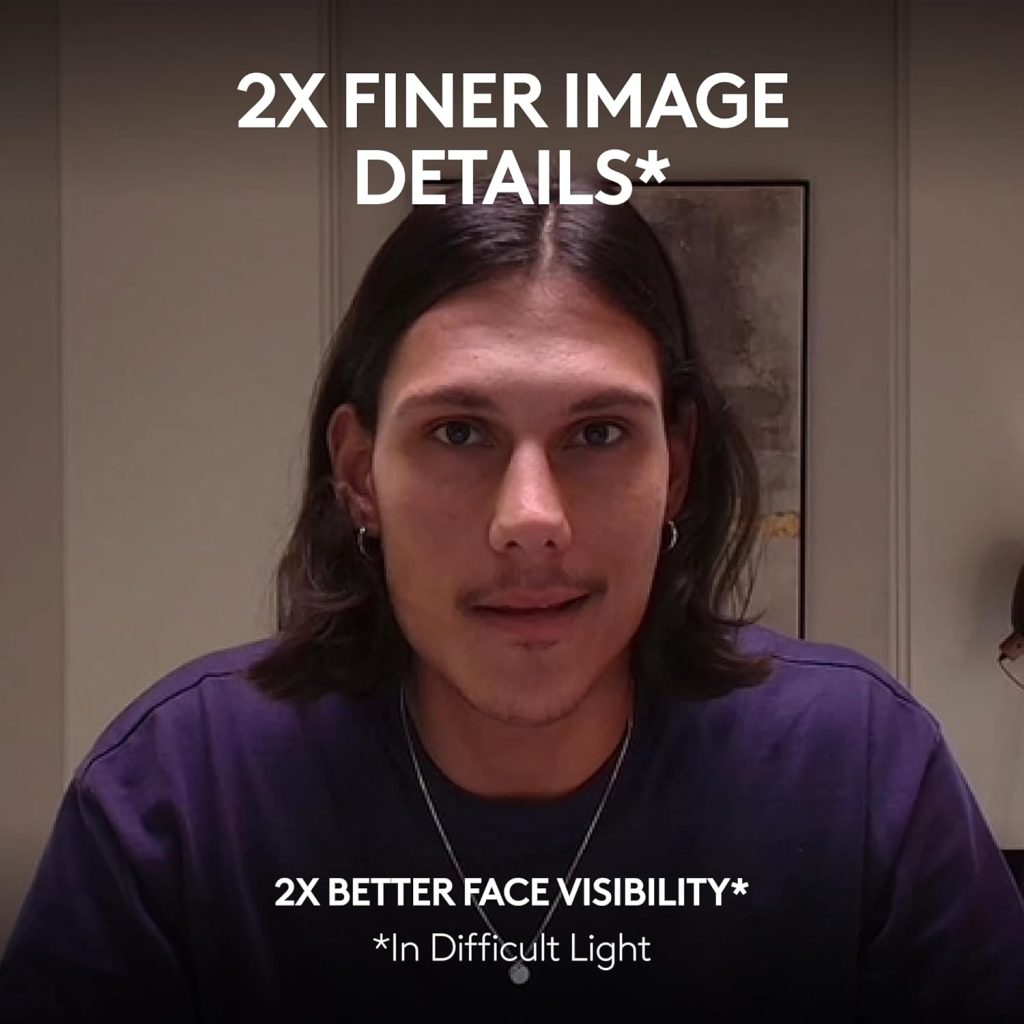
Reliable low-light performance is easy to overlook until you find yourself teaching on a cloudy afternoon or you get hit by a power outage. A webcam that manages exposure well prevents that grainy, shadowy appearance that makes you seem distant or unapproachable to your students.
The webcam features that make teaching easier day to day
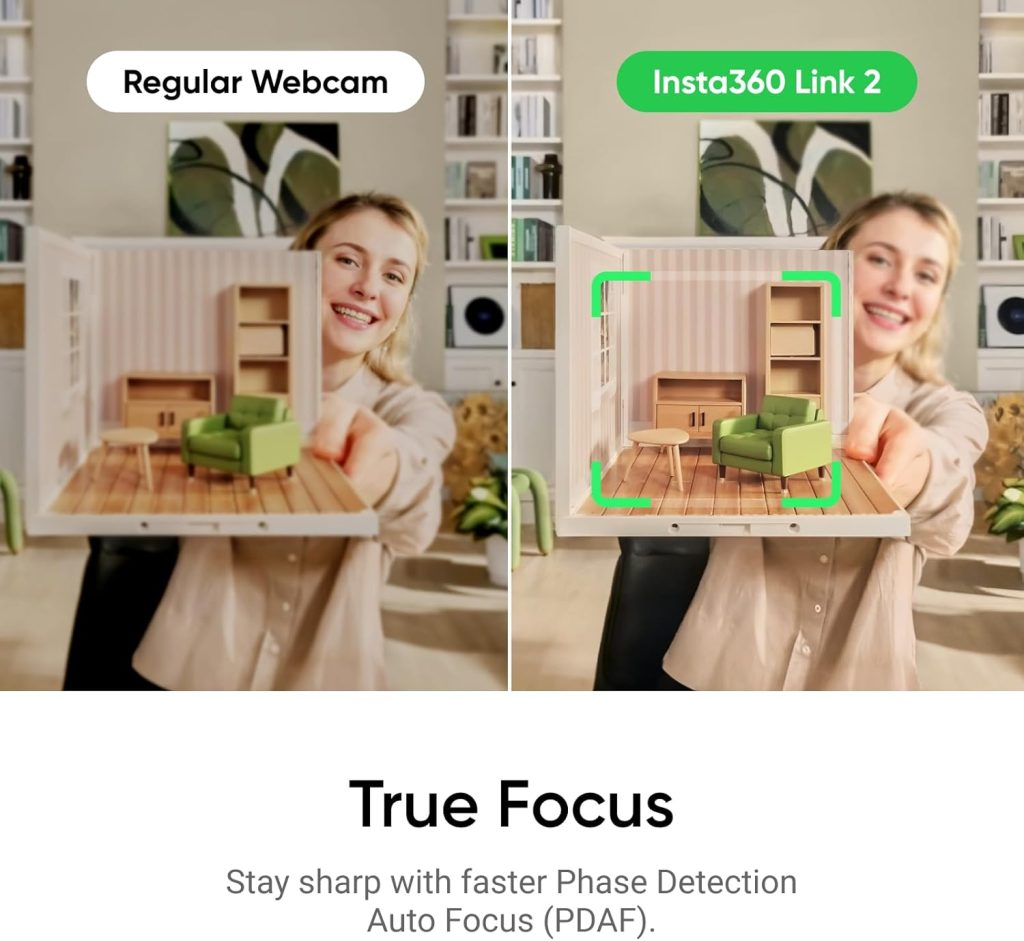
A fast, reliable autofocus system is one of those features you only appreciate when it works perfectly. When you hold a book or prop toward the lens, the camera should adjust instantly; otherwise, you end up pausing your lesson while the technology catches up.
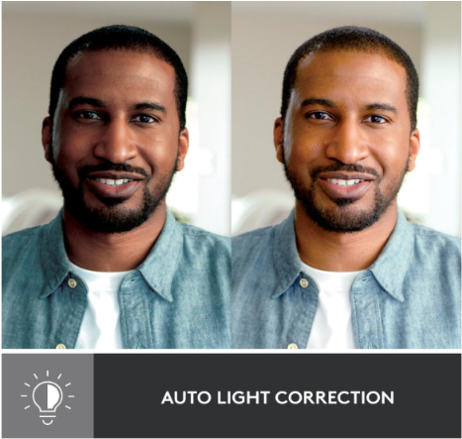
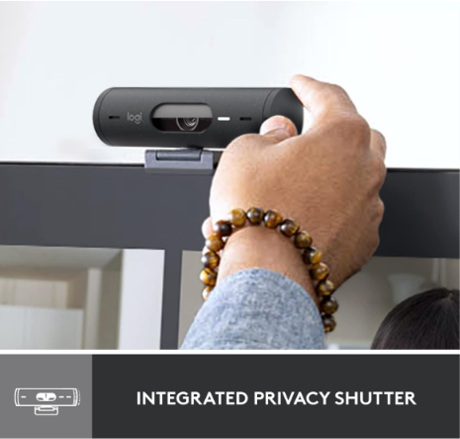
Auto light correction is equally important, as it helps your video quality stay consistent if the lighting in your room shifts throughout the day. Additionally, a built-in privacy cover is a practical necessity, especially if your teaching space doubles as a kitchen table or a busy living area where you value your personal privacy.
Look for a camera with a secure mount, tripod compatibility, and a true plug-and-play setup. If your equipment requires complex updates or constant troubleshooting before class starts, it will only add unnecessary stress to your workday.
When the built-in laptop camera is not enough
Integrated laptop cameras often suffer from poor placement, wide-angle distortion, and subpar sensor quality, which can make it look like you are teaching from inside a cereal box. Furthermore, built-in microphones are frequently weak, especially if you move around or teach in a room with an echo.
Investing in an external camera is worth it if your students struggle to see your face clearly or if your props appear distorted during the lesson. If you are tired of poor low light performance or blurry video, upgrading your hardware is the most effective way to improve the quality of your lessons. For more real-world feedback on finding the right setup, this Reddit thread on webcam picks is a useful resource to review.
How to choose the right webcam for online teaching
It is easy to get pulled into spec soup. 2K, HDR, AI framing, beauty filters, night mode, and on it goes. For online teaching, the trick is simpler. Ask one question first: will this help kids see and hear me better during a normal lesson?
Resolution, frame rate, and field of view explained simply
Start with 1080p video. It is the safest pick for most teachers. While a 720p webcam can still work for short lessons or a tight budget, the image will lack sharpness. If you need professional grade clarity, 4K resolution is an option for high-end needs, though it is rarely required for standard virtual classrooms.
A frame rate of thirty fps is fine for teaching. Sixty fps is nice if you move around a lot, but it is not a must-have. Field of view matters more than many teachers expect. A range of 78 to 90 degrees is comfortable if you use both hands, show props, or step slightly to one side. Too narrow feels cramped, but a field of view that is too wide can show your whole room, including the pile of stuff you would rather keep off camera.
A built-in microphone on most webcams is convenient, but they have limits. They often pick up keyboard taps, chair squeaks, hallway noise, and the family dog with a strong opinion.
If you teach in a quiet room and sit close to the camera, the internal mic may be enough. If your room echoes, or you need a cleaner sound for language lessons, a dedicated USB microphone or a wired headset is often smarter. Clear audio beats fancy video every time. Kids can forgive a slightly soft picture, but they cannot follow muffled directions.
Lighting, autofocus, and low-light performance
Good lighting can make a mid-range webcam look better than a premium one used poorly. Window light works well when it is in front of you, not behind you. If your brightest light is behind your head, you will look like a mystery guest. Look for a camera that manages white balance effectively and prioritizes skin-tone accuracy, as these features ensure you look natural on camera.
Autofocus should be steady, not jumpy. Low-light performance matters if you teach early mornings, evenings, or in a room that changes with the weather. A camera that holds detail in dimmer light saves you from turning into a blur by 4 p.m.
Privacy, durability, and ease of use for busy teachers
A privacy shutter is small, but comforting. So is a sturdy mount that does not wobble every time you adjust your screen. Long cables help if your desk setup is awkward, and they usually are. These cameras should also offer seamless Zoom compatibility for a stress-free experience during your lessons.
When you are comparing Amazon listings or review videos, focus on the basics first. This video roundup of webcams for online classes is handy for seeing how different models look in real use, not only on a box.
Kids won’t care that your webcam shoots 4K if your room is dark and your mic sounds far away.
Choosing the best webcams for online teaching, from budget to premium
A few models keep coming up for good reason. They do not all fit the same teacher, though. Think of it this way:
| Tier | Best for | What you should expect | Example models |
|---|---|---|---|
| Budget | New teachers, occasional tutors | 1080p, decent autofocus, basic built-in microphone, simple setup | Logitech C920 |
| Mid-range | Daily online teaching | Better light handling, stronger mic performance, sturdier design | Logitech Brio 500, Anker PowerConf C200 |
| Premium | Full-time teachers, polished setups | Sharper image, better low-light results, more control | Logitech MX Brio, Insta360 Link |
The sweet spot for most teachers sits right in the middle. Budget cams work. Premium cams look great. Mid-range usually gives the best balance.
Best budget webcam for teachers who want a solid upgrade
The Logitech C920 is still one of the easiest budget picks to recommend. It gives you 1080p video and reliable autofocus. For a teacher moving up from a laptop camera, that alone feels like a big step.
Examples shown are from Amazon (USA) and Evetech (South Africa)
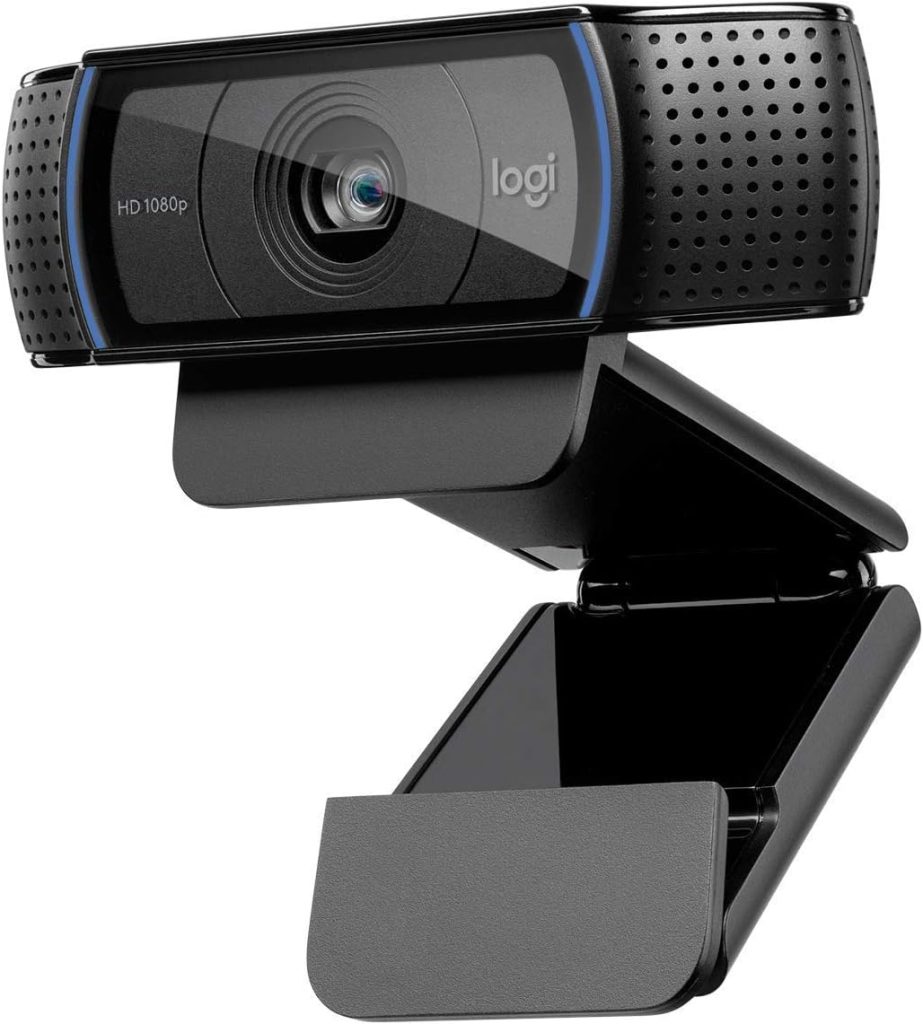
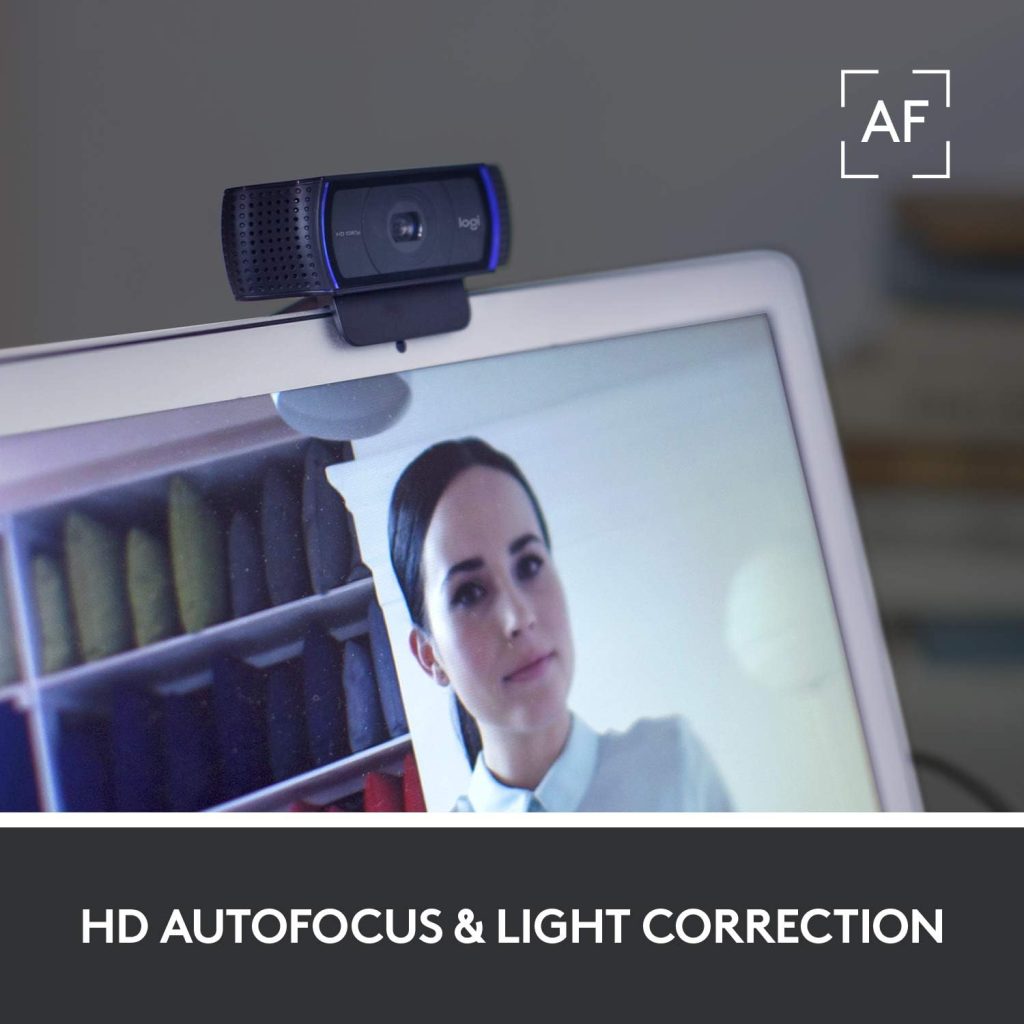
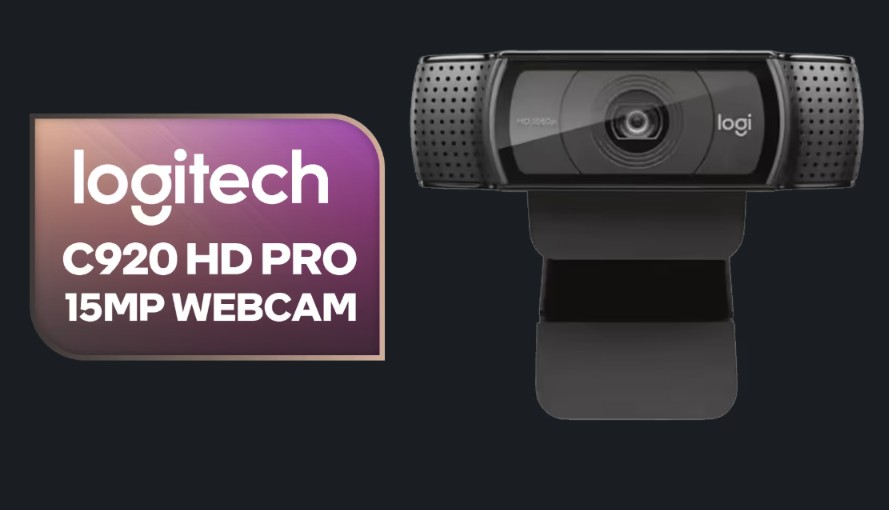
The trade-off is simple. Budget webcams tend to struggle more in poor lighting, and the built-in microphone quality is only okay. Still, if your room has decent light and you mostly teach face-to-camera, this kind of webcam is a solid, no-drama choice.
Best mid-range webcam for daily teaching
This is where many full-time online teachers land. The Logitech Brio 500 is a strong example because it balances image quality, auto light correction, and easy everyday use for your online classes. The Anker PowerConf C200 is another good fit if you want adjustable framing and a privacy cover in a compact body.
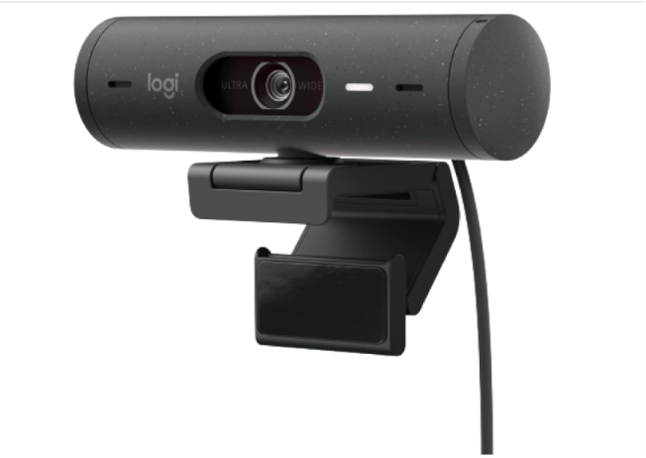
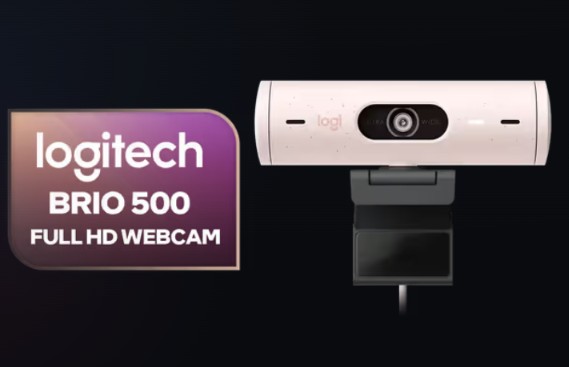
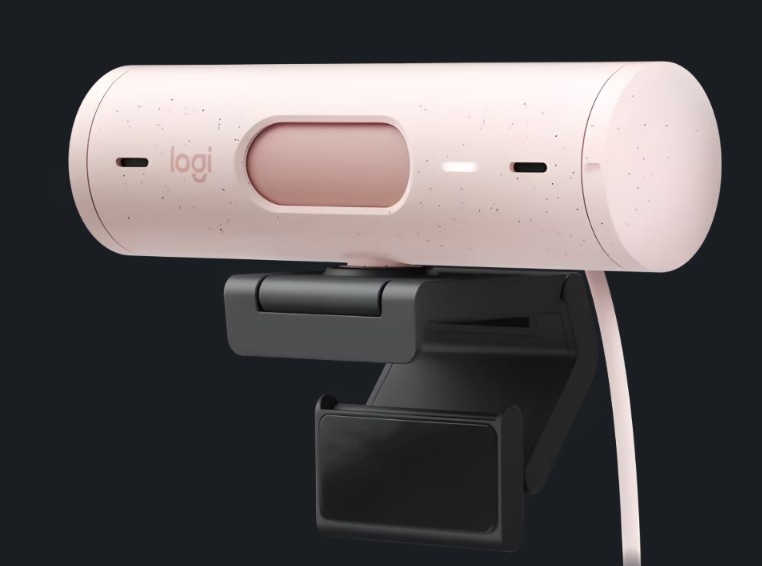
Mid-range models usually feel more reliable from class to class. Less fiddling, cleaner exposure, better focus. That matters when you teach back-to-back and do not have time to troubleshoot between students.
If you like hearing what parents and teachers buy for kids’ classes in real life, this discussion about kids’ class webcams lines up with the usual Logitech favorites.
Best premium webcam for a polished classroom setup
A premium webcam makes sense if you teach full-time, record lessons, or want a sharper on-camera look every day. The Logitech MX Brio is a great choice if you want 4K resolution and high-end image quality. This version of the Logitech Brio delivers stronger low-light performance in a traditional webcam design.
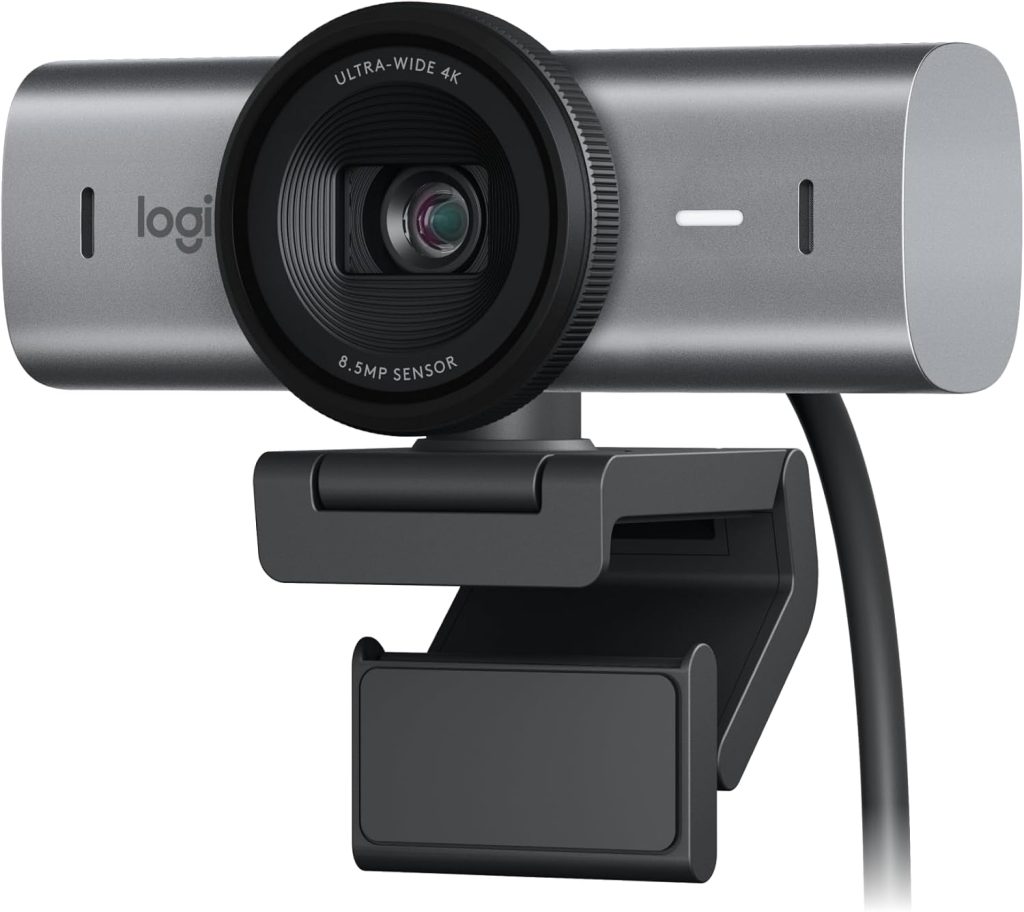
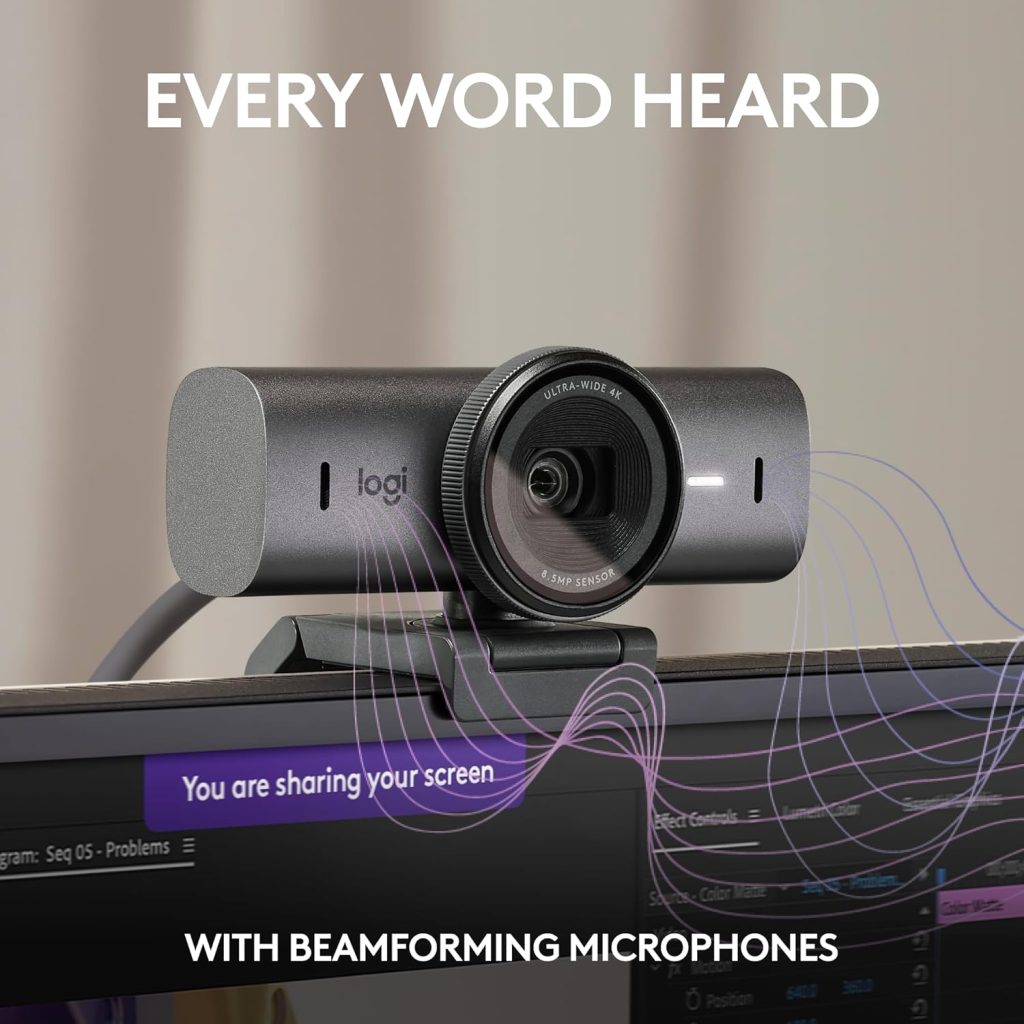
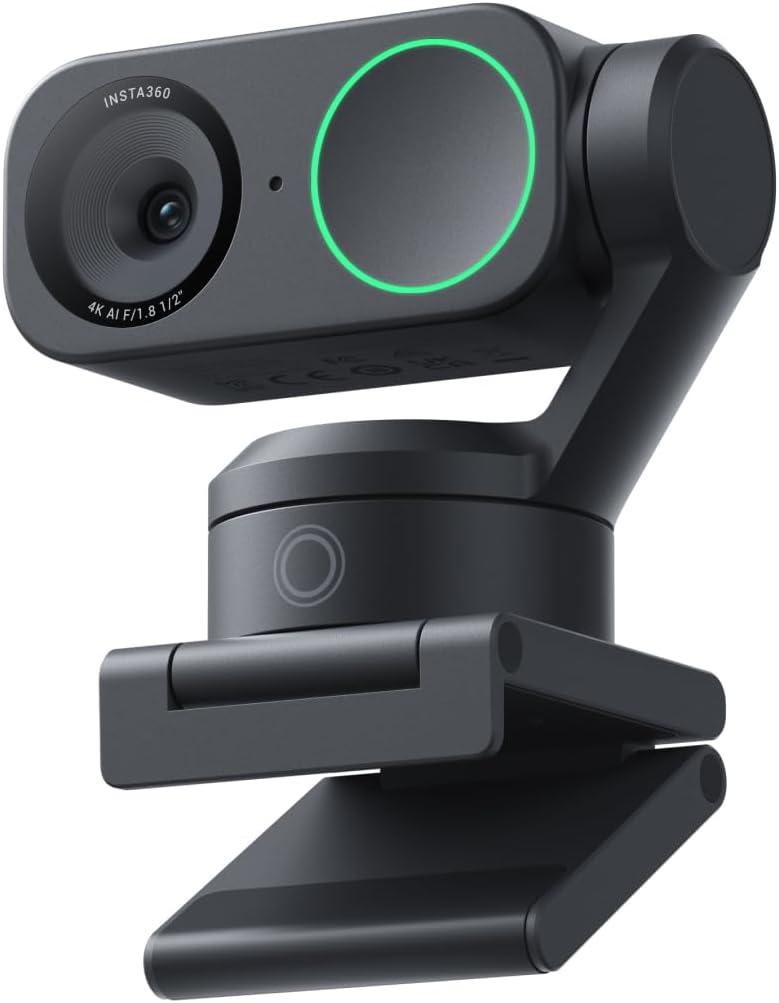
If you teach standing up or move around a lot, the Insta360 Link is worth a look. It offers 4K resolution along with advanced AI tracking features that help keep you in frame. This subject tracking capability is helpful when you shift to a whiteboard or demo area. That said, many teachers will not need this level of tech. Premium is nice, not necessary.
Set up your webcam so kids can see and hear you better
The funny thing about webcams is that setup can matter as much as price. A decent camera in the right spot often beats an expensive one used badly.
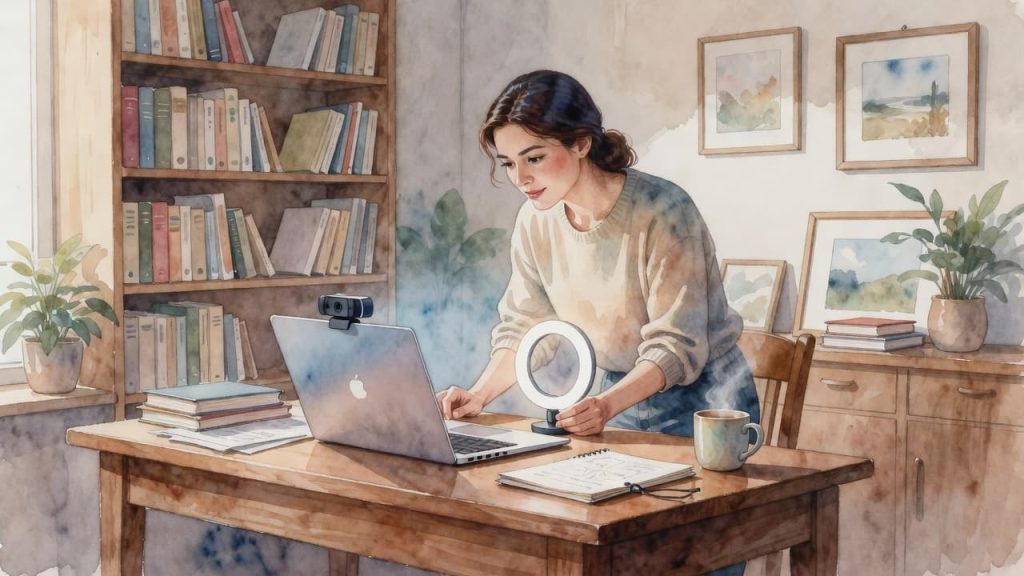
Place the camera at eye level or slightly above. That angle feels natural and helps students connect with you during remote learning. Too low, and you are teaching from chin level. If you use props, leave a bit of space around your shoulders and hands. Test how far back you need to sit so your gestures stay on screen, which is especially important for maintaining engagement in Zoom.
Use lighting to make your video look clearer
Face the light if you can. A window in front of you is great for remote learning. A small ring light or desk lamp also works well when daylight fades and you need to look professional on Zoom. Avoid strong backlighting, and soften harsh shadows when possible. Even moving a lamp a foot to the left can make a surprising difference for your Zoom participants.
Test your audio before class starts
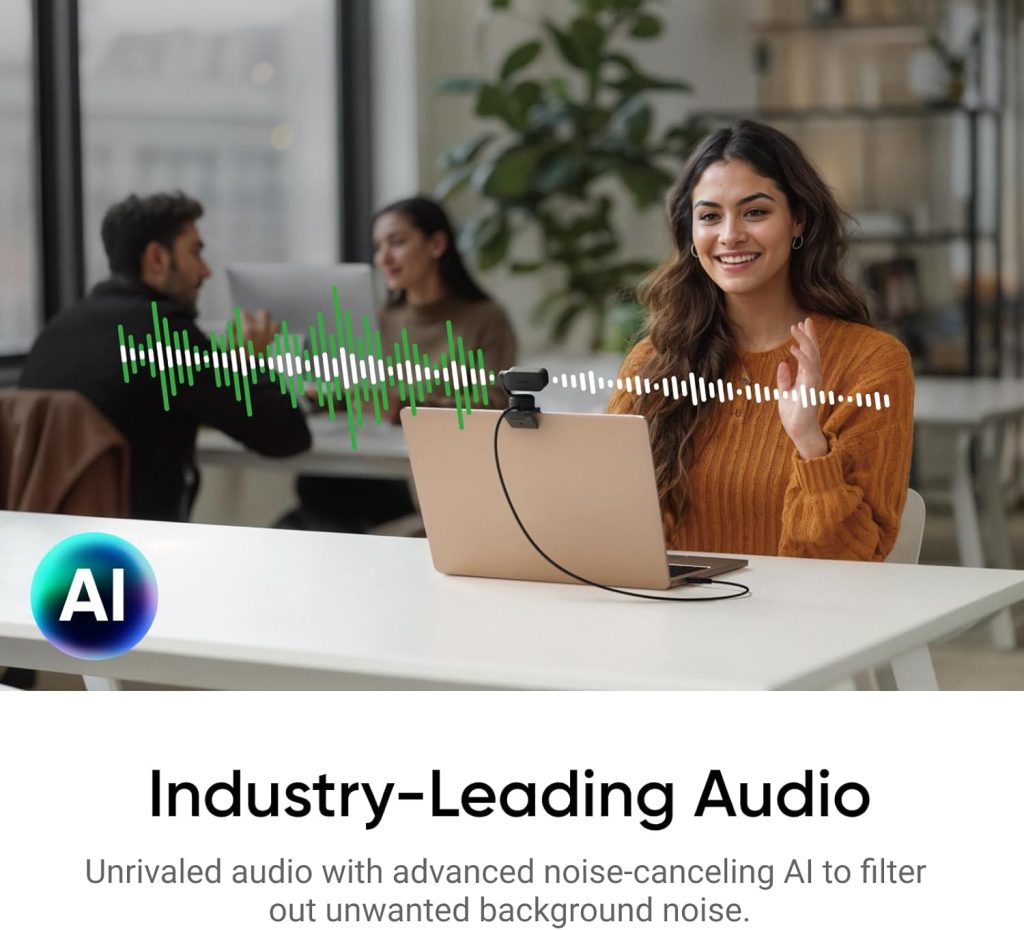
Do a quick sound check before you open the room. Say a few sentences at your normal teaching volume, not your testing robot voice. While many use a built-in laptop webcam for Zoom, the audio quality is often poor. Consider using a dedicated USB microphone for better results. Ensure your settings use noise reduction to filter out background distractions, especially if you are conducting high-stakes Zoom sessions. Keep the mic close enough to catch your voice clearly and mute noisy fans or phone alerts.
Check your internet and app settings
Blurry video is not always the webcam’s fault. Weak Wi-Fi, crowded bandwidth, and aggressive video compression can all lower quality fast. If you are comparing your laptop webcam to a high-quality external camera for Zoom, you will notice the external device handles video conferencing software much better. Use the most stable connection you can for your Zoom classes. In your Zoom settings, confirm the right camera is selected and close extra apps that chew through bandwidth. If your video keeps stuttering during your Zoom lesson, turning off virtual backgrounds can help. If the problem follows you beyond Zoom, see our guide to fixing Chrome lag during online classes for browser-level fixes. By optimizing these settings, you ensure a smooth experience for every Zoom meeting you host.
Frequently Asked Questions
Does every teacher need a 4K webcam?
No, 4K is rarely necessary for standard virtual classrooms. A high-quality 1080p camera provides more than enough clarity for showing flashcards and props, and it is much less demanding on your computer’s processing power and internet bandwidth.
Why does my video look grainy even with a good webcam?
Grainy video is usually caused by poor lighting rather than a bad camera. When a sensor doesn’t have enough light to work with, it struggles to produce a clean image, so adding a ring light or facing a window is often the most effective fix.
Is an external microphone really better than the one on my webcam?
Yes, dedicated microphones generally offer much better sound quality and noise isolation than the small mics tucked inside webcams. Since clear audio is the most vital part of a lesson, upgrading your audio is often a better investment than upgrading your video.
How do I know if my webcam is compatible with my teaching software?
Most modern USB webcams are “plug-and-play,” meaning they work automatically with common platforms like Zoom, Google Meet, and Skype without needing extra software. As long as the camera connects via USB, you should be able to select it directly from your meeting app’s video settings menu.
Final thoughts
The best webcams for online teaching are those that provide clear, dependable classroom video without turning your technical setup into a second job. Sharp image quality, steady focus, simple mounting, and reliable audio are far more important than flashy, unnecessary extras. When you compare these dedicated tools to the grainy performance of a standard laptop webcam, the improvement in your video conferencing experience is immediate.
Choose your device based on how you actually teach, the layout of your room, and your overall budget. Once you have the right gear, be sure to provide good lighting and a flattering angle, because even high-end hardware cannot rescue a poorly lit setup. A better class on camera often starts with one small upgrade to your video conferencing equipment and a few smart adjustments to your environment.
Disclaimer: This post contains affiliate links
3 Comments